DIY bi-fold window shades
Challenge: covering the large window above the tub in our master bathroom
- It’s an odd-size window, and large. Custom-order blinds aren’t cheap.
- We didn’t want to cover up the whole window, but we did need privacy since it’s a bathroom. Bottom-up blinds would work, but Chrissy & I weren’t sure we’d like that look.
While searching the web for alternative ideas, I saw someone who had used wooden shutters to cover the bottom 3/4 of their kitchen sink window. It provided privacy, while still letting them look out the window and letting light shine in. I liked that idea, but shutters would be too folksy for our bathroom style. Another neat idea I came across was shoji paper blinds, which would let light through and look more elegant. The 3rd piece of inspiration was this article about DIY bottom-up blinds, from which I got the idea of using cheap temporary shades to keep the cost down. Combine that with the leftover oak boards from our stair landing, and an idea started to form for a fun project.
Solution: Homemade bi-fold wooden-framed shades
-
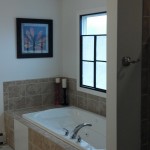
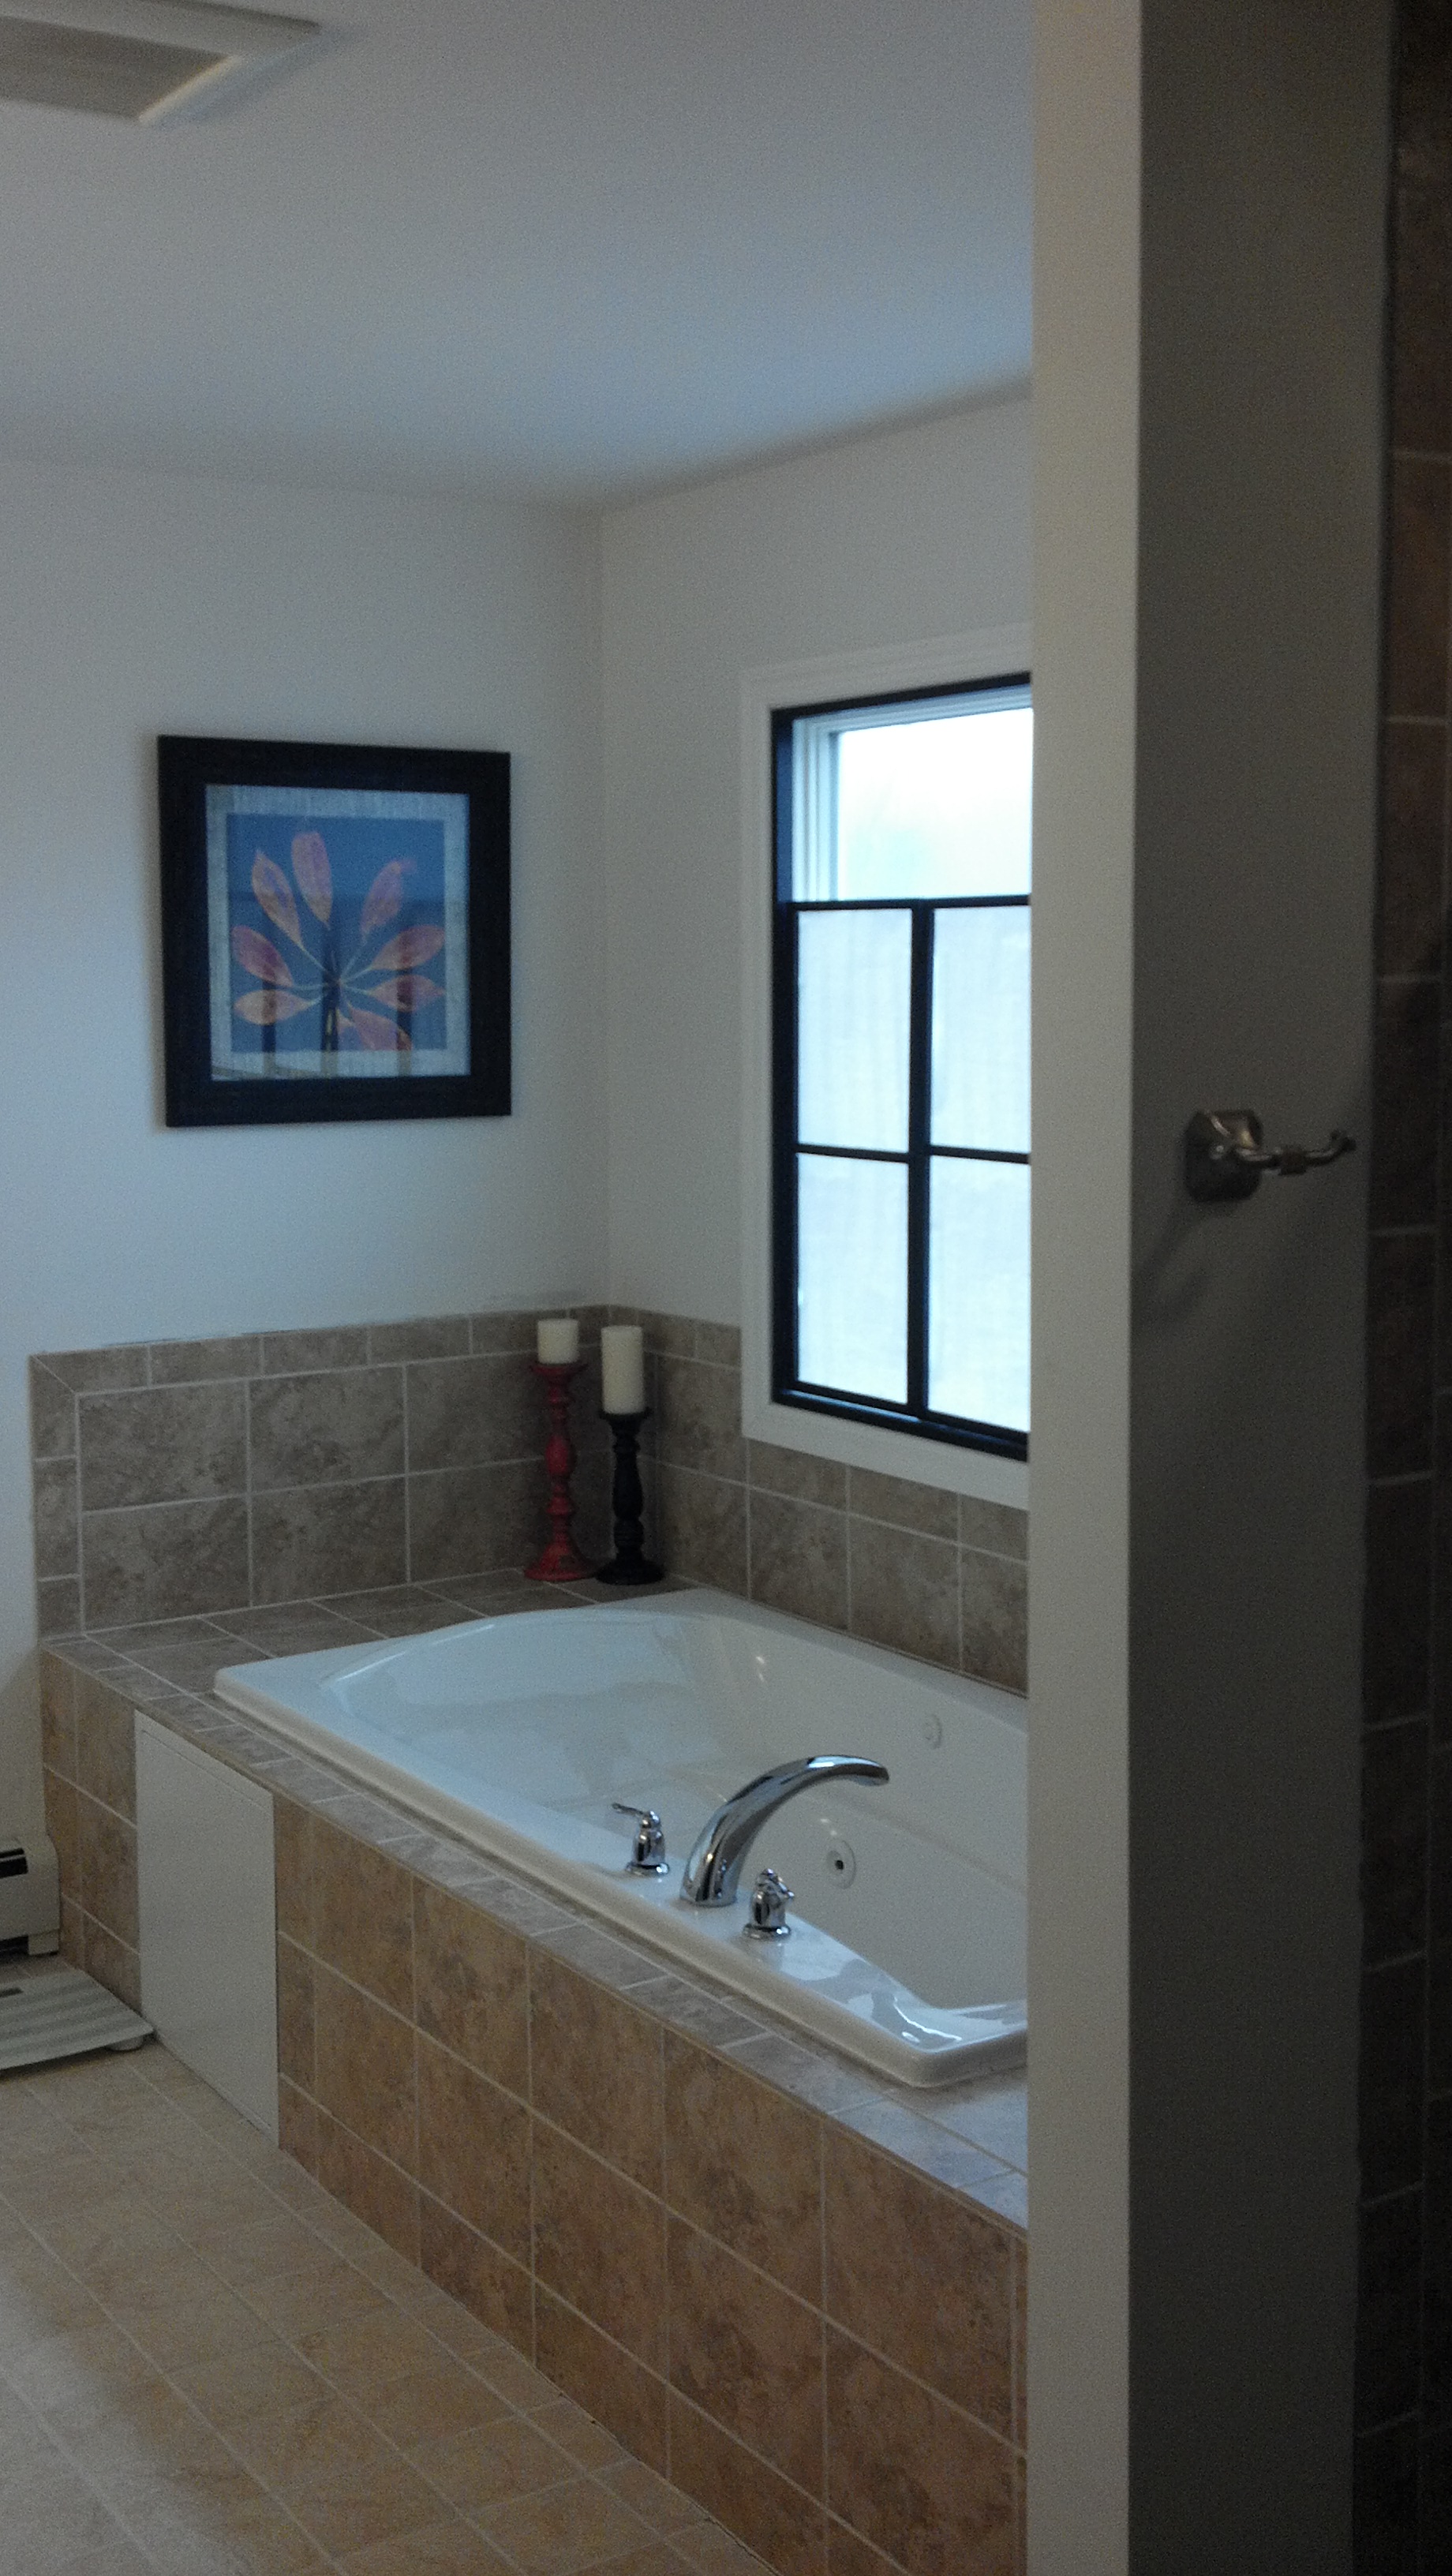
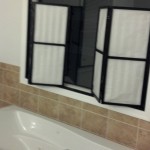
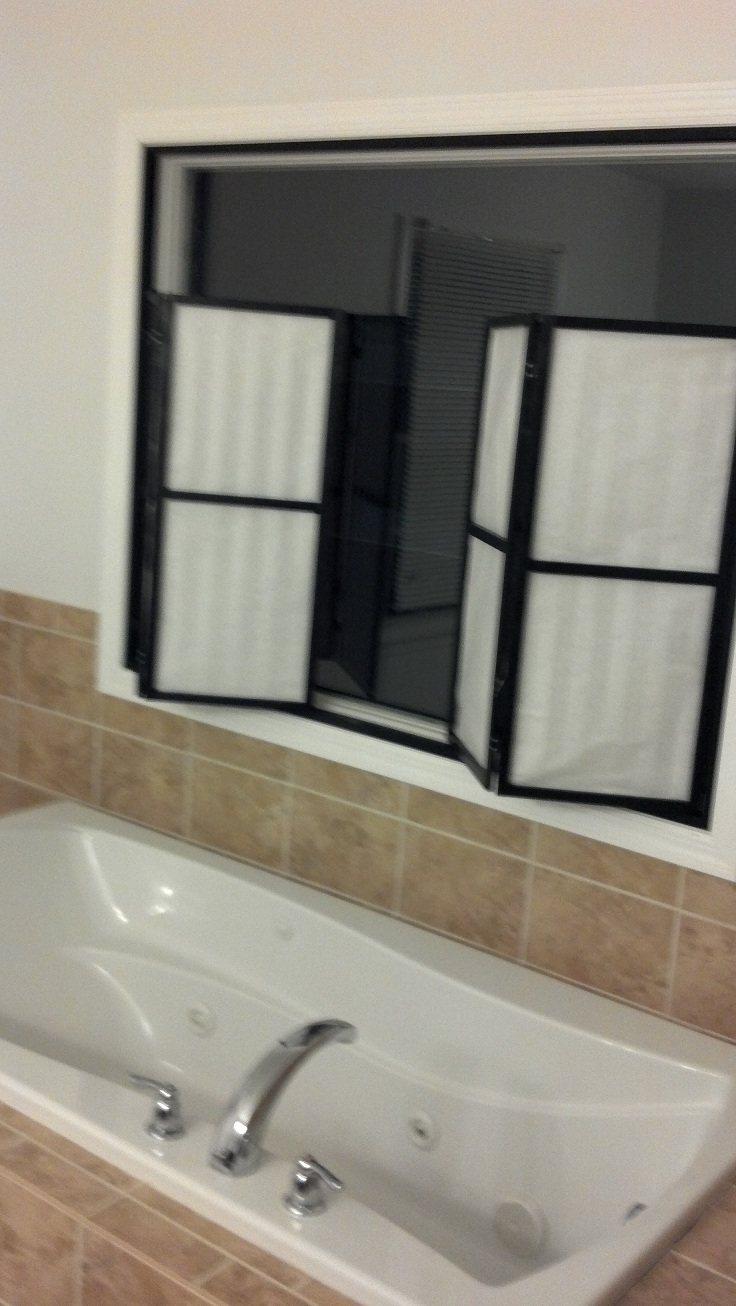
- Completed window shades and tub
-
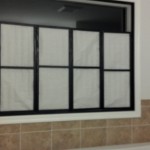
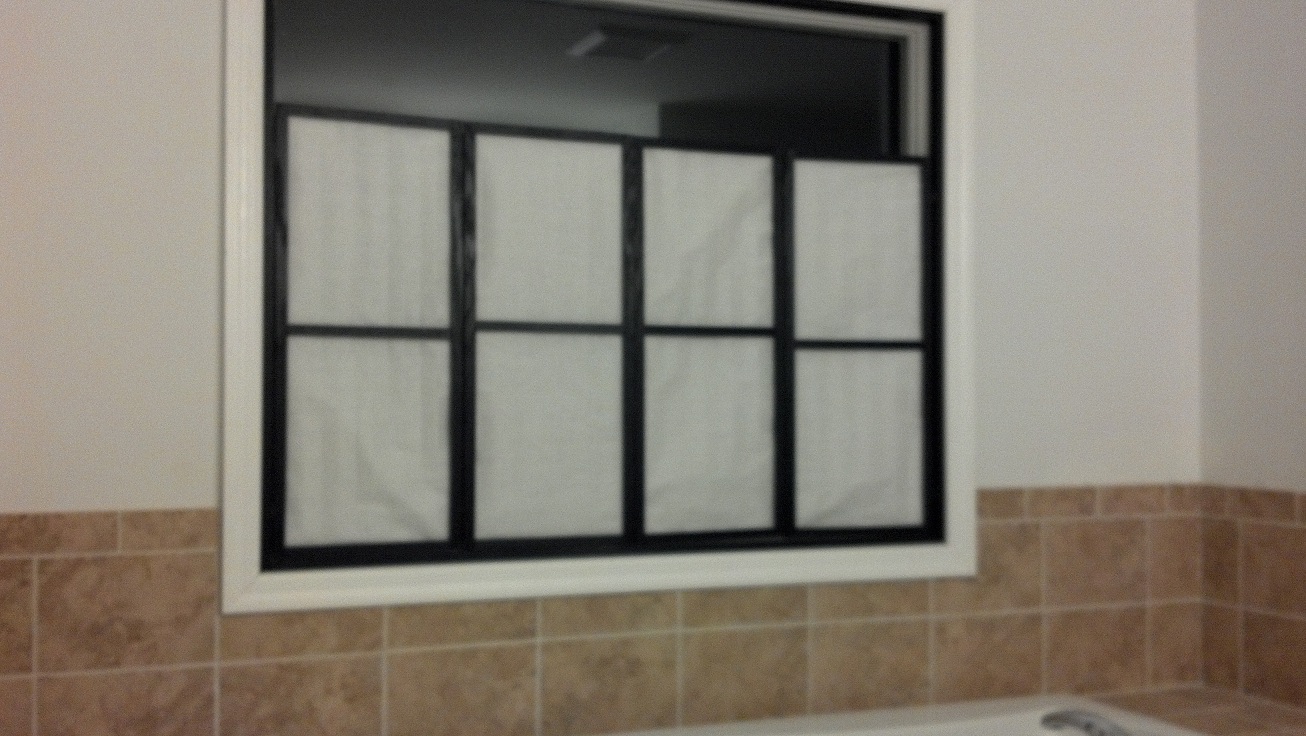
- Closed shades
-
- Opened shades
-
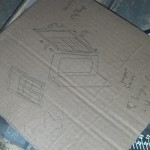
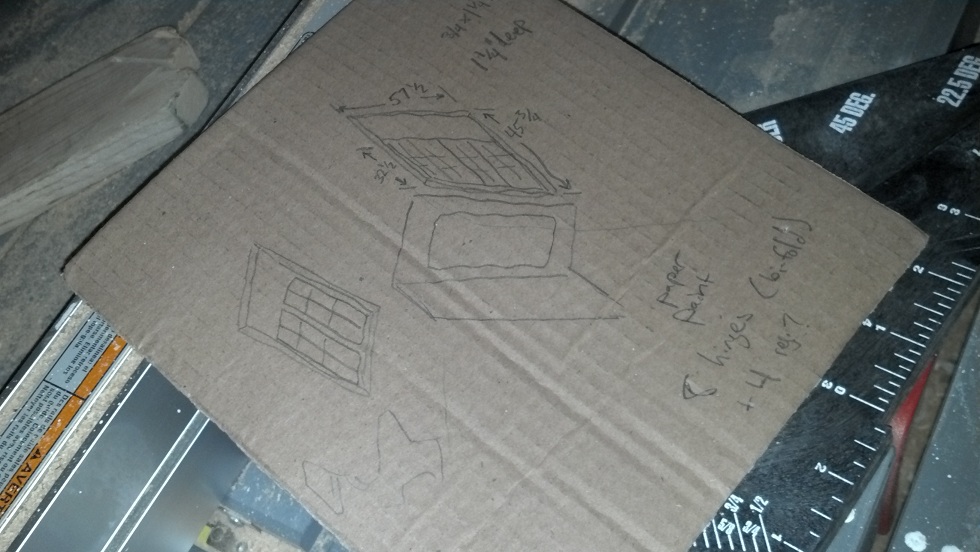
- Initial sketch
-
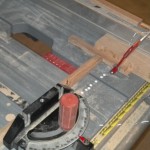
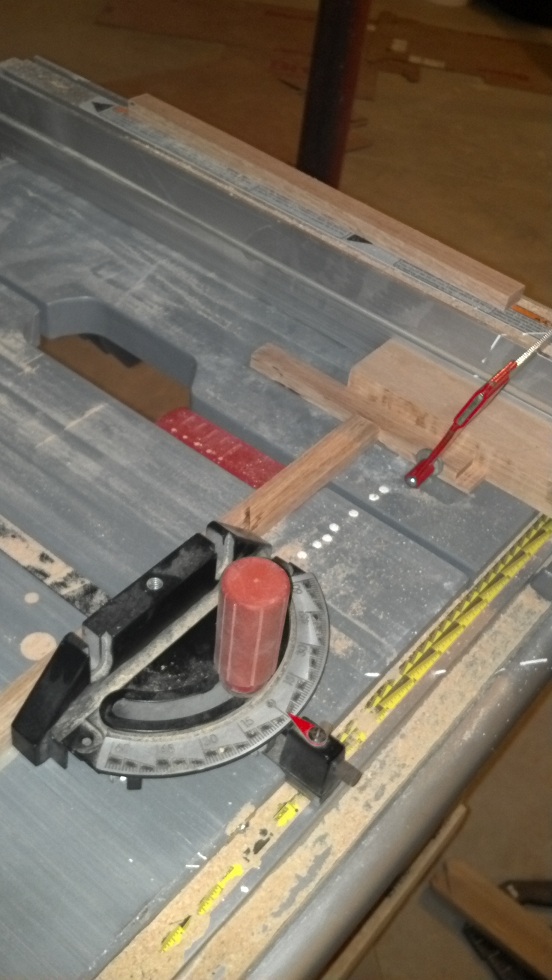
- Clamped table saw stop, to position the notches consistently
-
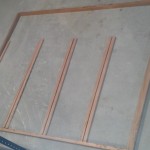
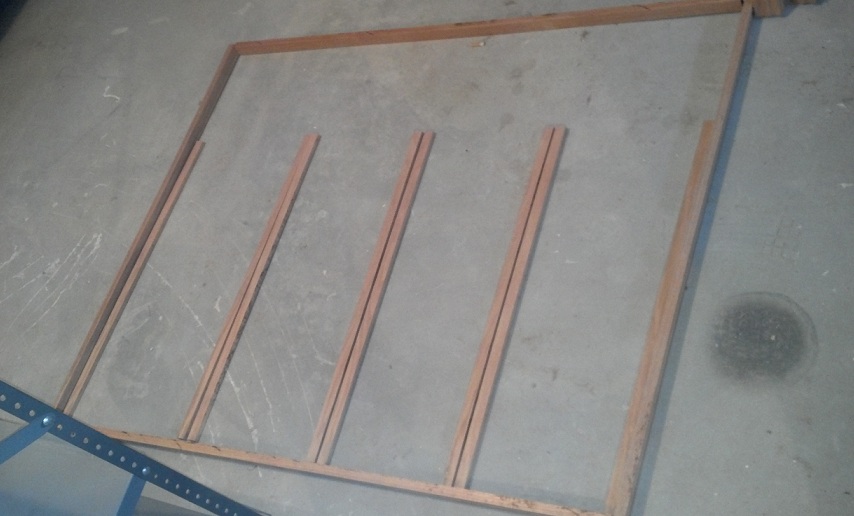
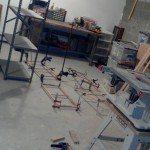
- Laying out frame and shades, to visualize final fit
-

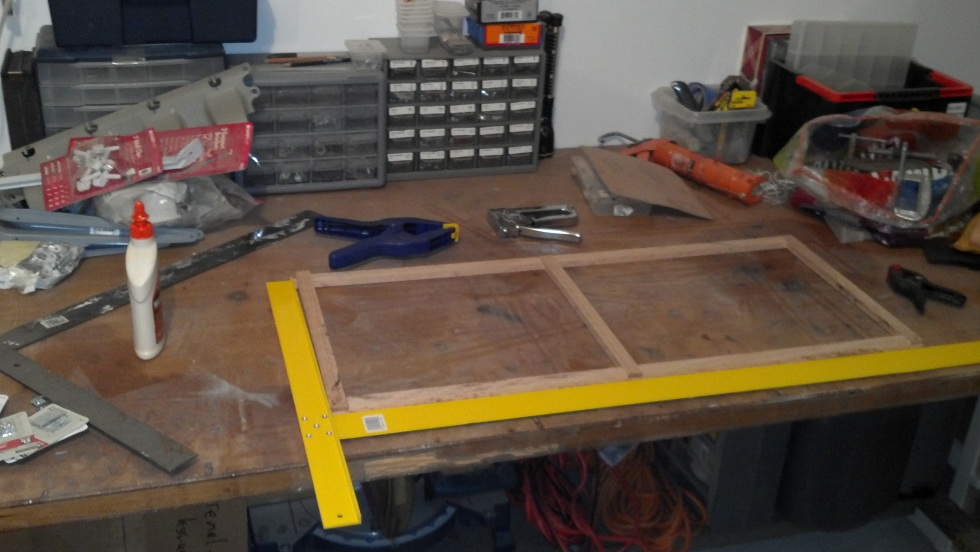
- Assembling the first shade
-
- Using all the clamps that I own

-
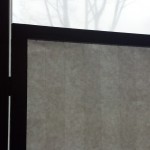
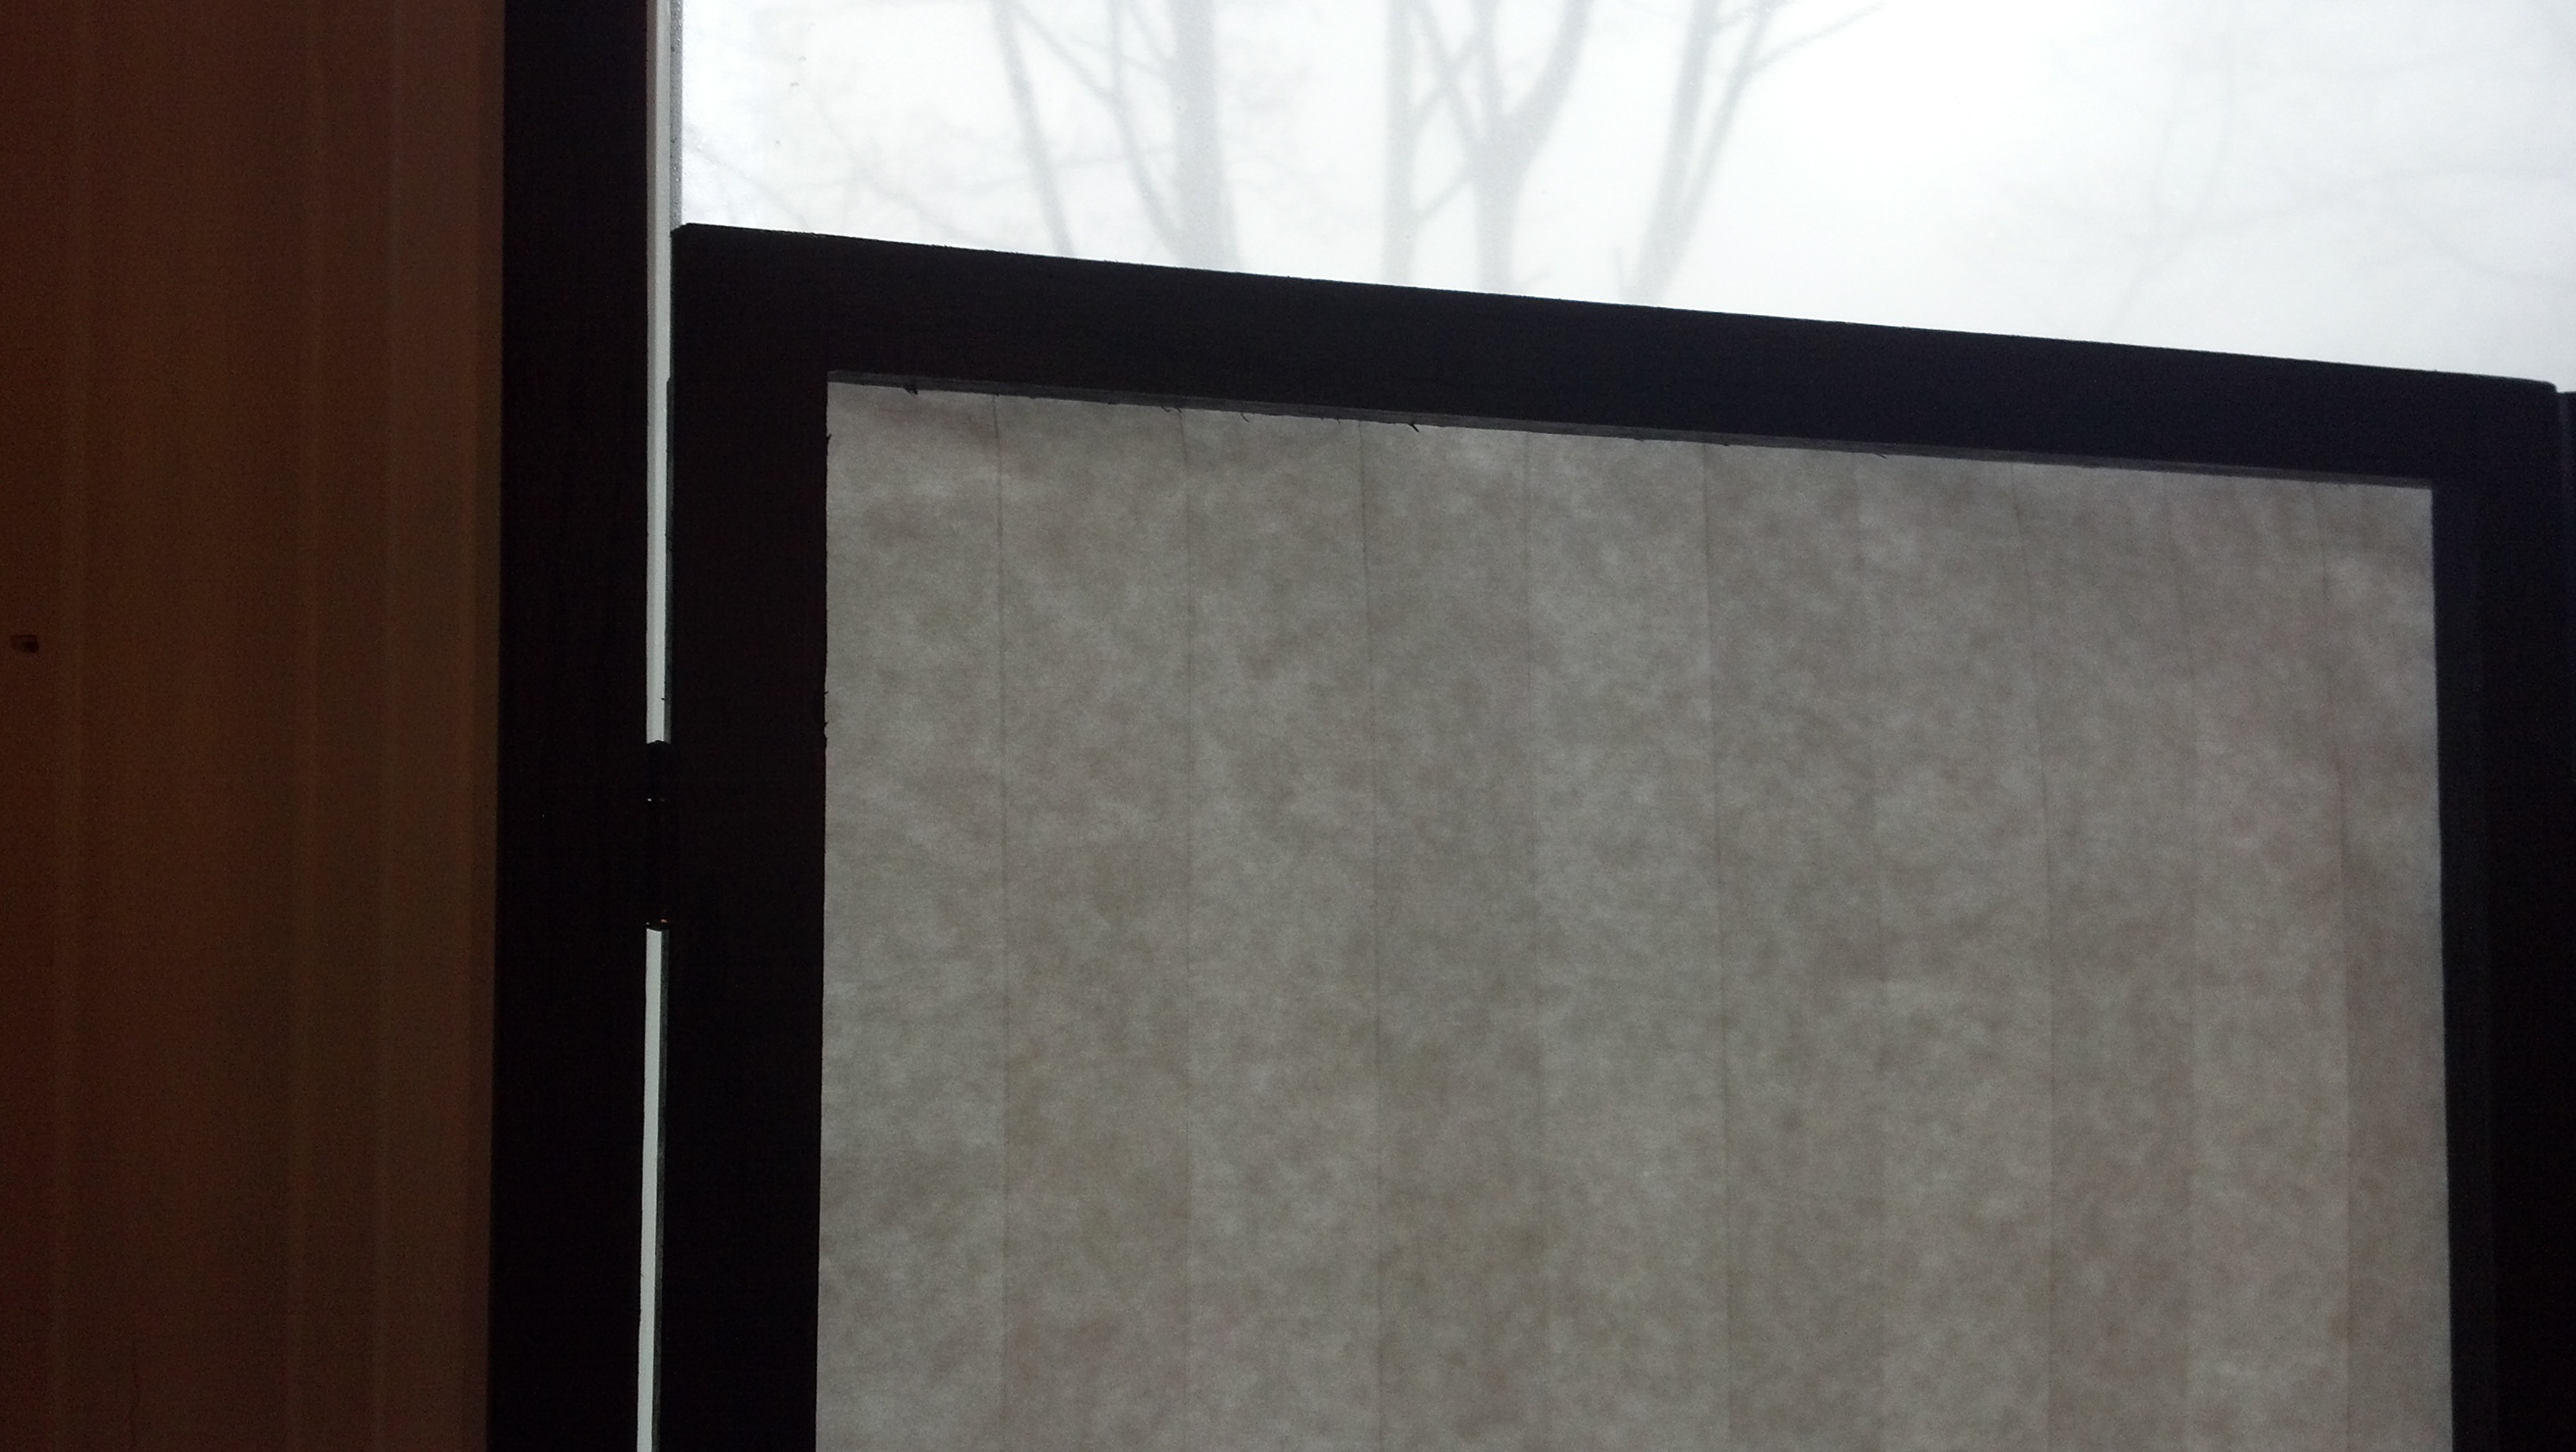
- Top detail
-
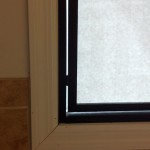
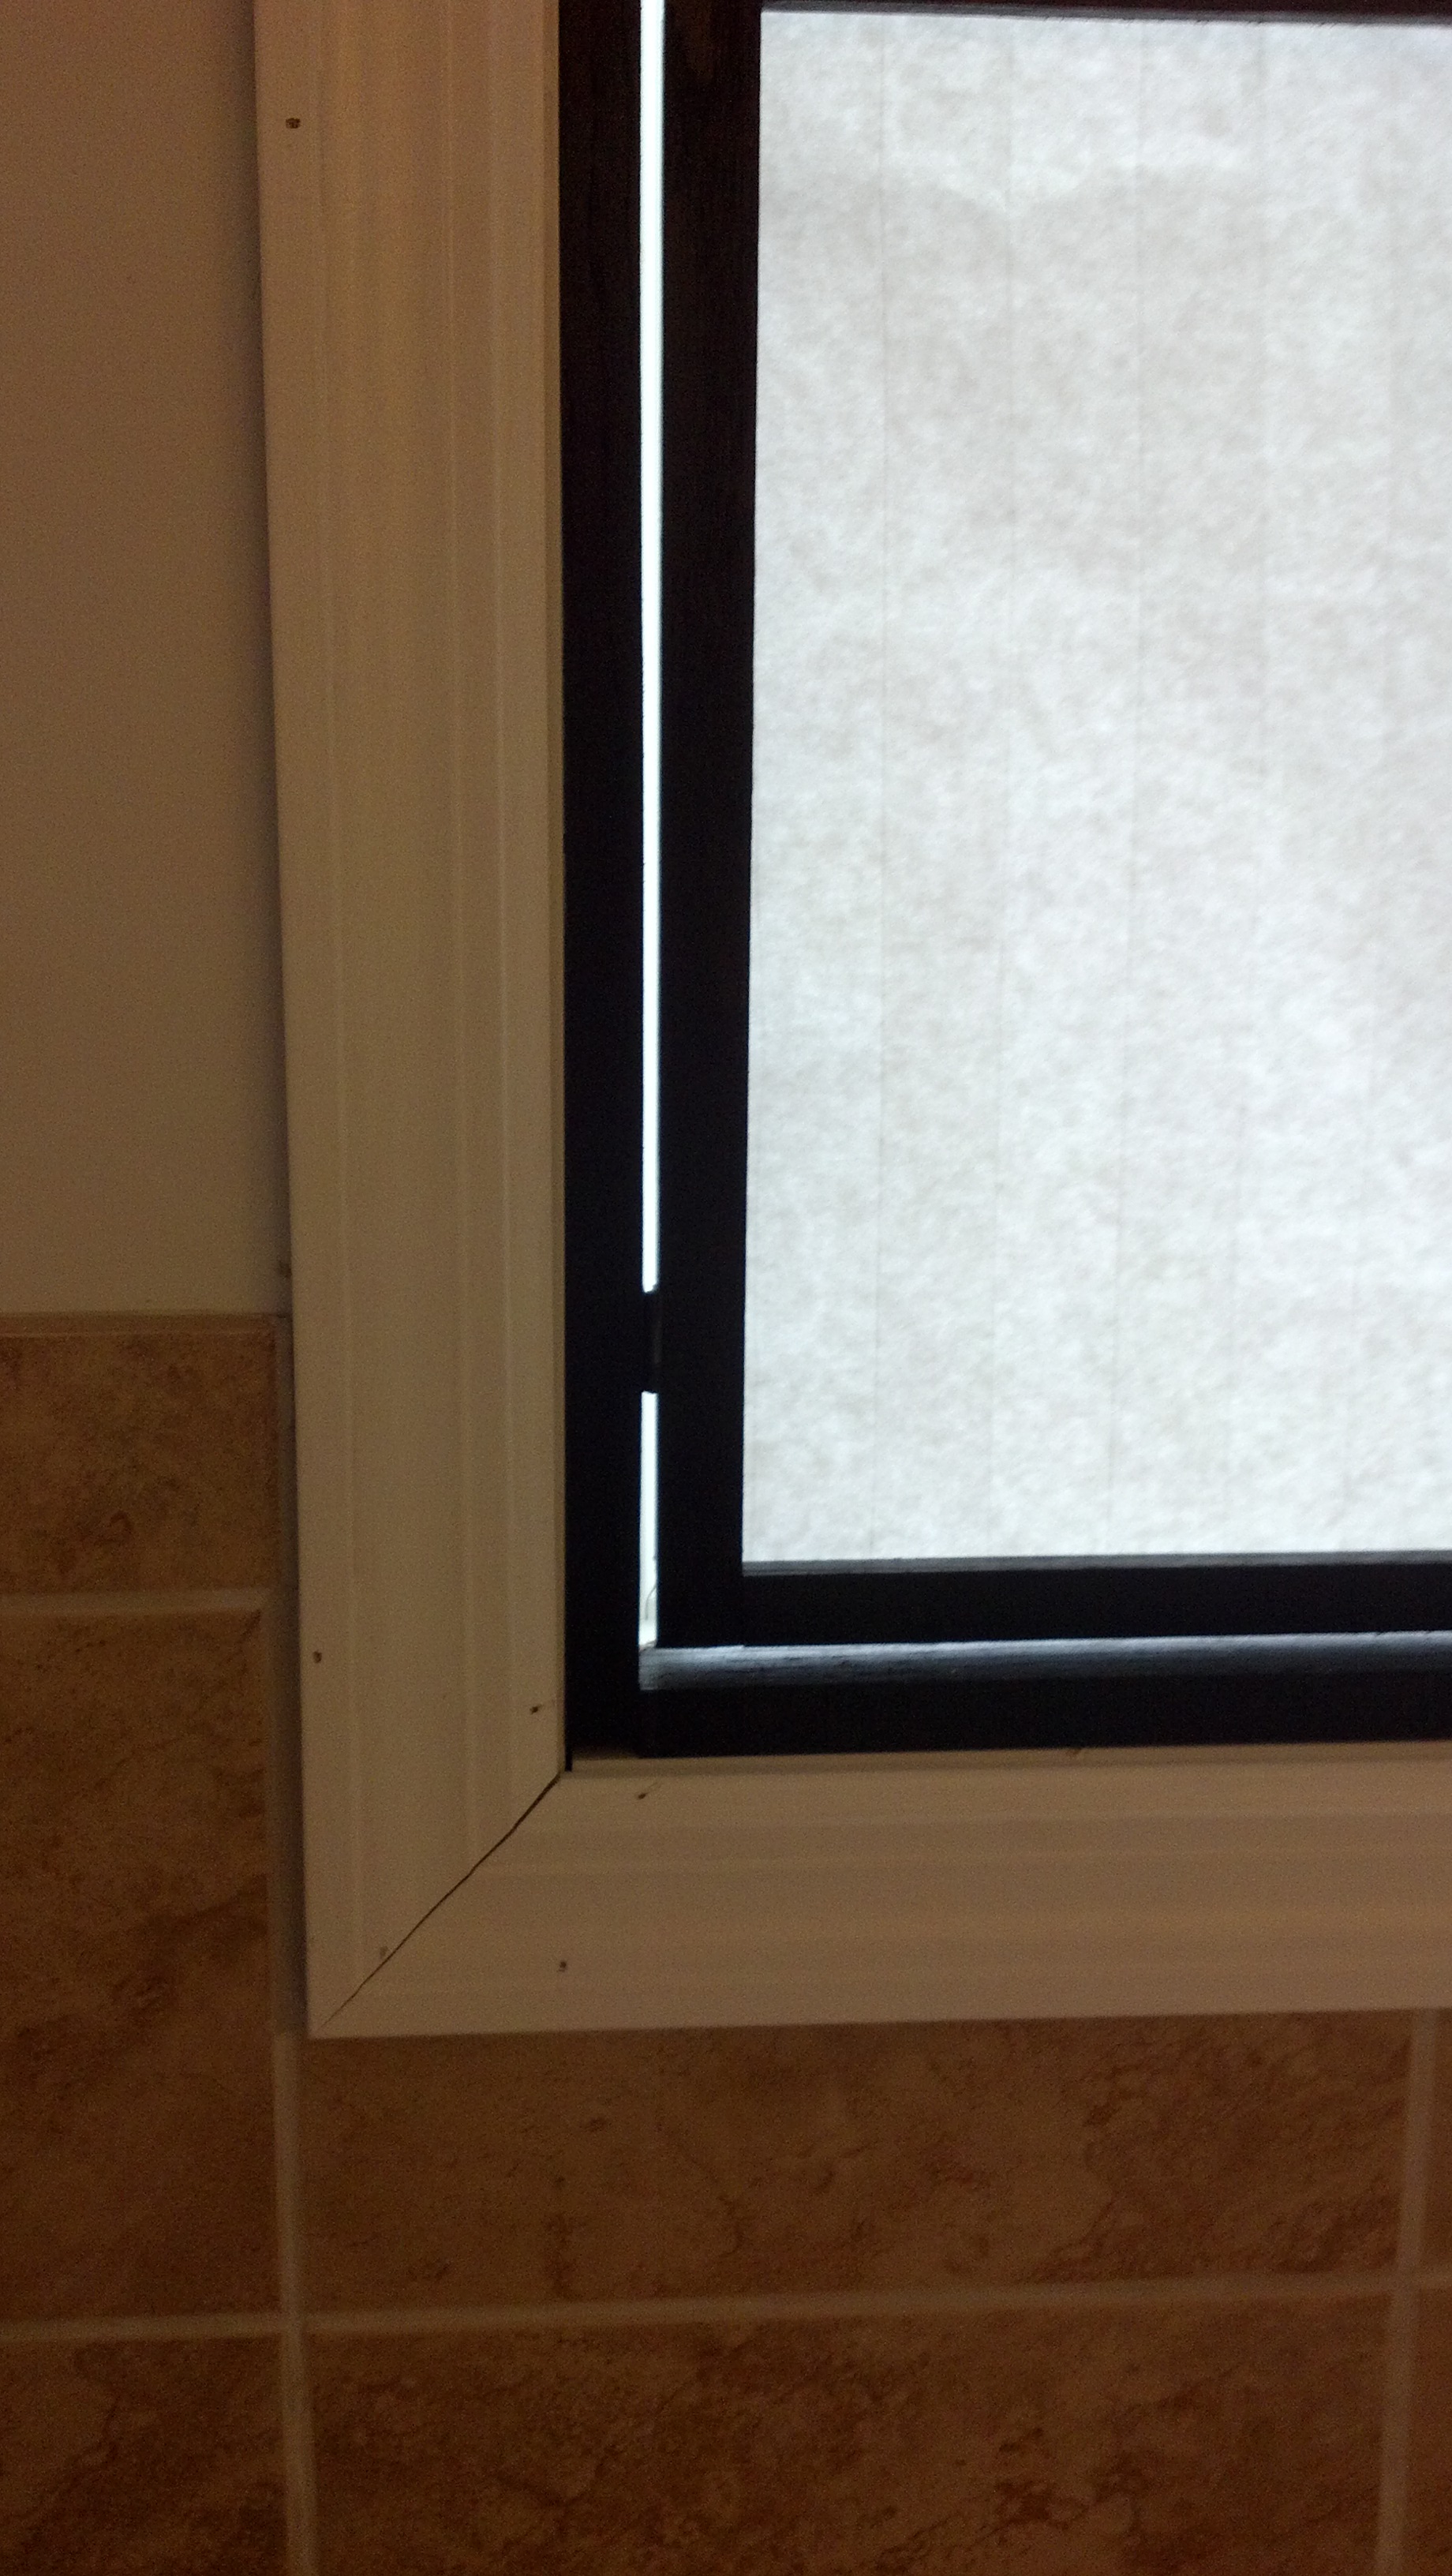
- Corner detail
Details:
Materials:
- Hardwood boards (I used a few oak floorboards left over from a bundle that we’d bought to do the stairway landings. They were a bit of a pain to rip, but I still had Chrissy’s grandfather’s table saw which is more powerful and smooth than my own.)
- 1 temporary shade — bought for $4 at Home Depot, and cut into sections, which I stapled to the back of the shade frame.
- 8 small hinges — I found these in a hobby section at HD. They didn’t have the size I wanted in black, so I bought some unfinished ones and a can of matte-finish black spraypaint.
I did all the joints as half-lap, something I’d never tried before. Other than taking a long time to cut all the slots with a plain table saw blade , this was pretty easy and I was happy with the result. Since the backside is covered with paper, I could get away with a little bit of a sloppy fit, so it was a good project to practice this skill on.
I nailed a frame around the outside of the window, so that I would have something consistent to screw into and to border the top of the window.